Our butcher brought in some lovely wild salmon fillets this week, so I decided to grill them on a cedar plank, using a recipe from Canadian Living’s The Barbecue Collection. The salmon is basted with oil, lemon juice and rind, chives, Dijon and salt and pepper and placed on a cedar plank that has been soaked in water for at least an hour. Cedar planks are available at the hardware store, or wherever you buy barbecue supplies.

Soak the cedar planks for at least an hour

Oil and lemon juice are the base for this marinade

Brush half of the marinade on the salmon before grilling

The smoke from the plank infuses the salmon – or whatever you are grilling – with great flavour.

The plank provides great smoke

To avoid additives and preservatives in this recipe, use fresh lemon juice and a Dijon with no preservatives, colour or white wine.

Cedar-Planked Salmon

Ingredients:

1 1/2 lb. salmon fillet, cut into pieces

2 tbsp olive oil

1/2 tsp lemon rind

2 tbsp lemon juice

1 tbsp chopped fresh chives

2 tsp Dijon mustard

Pinch each salt and pepper

Preparation:

Soak two 12- by 7-inch untreated cedar planks in water for at least an hour or up to a day

Whisk together oil, lemon rind and juice, chives, mustard, salt and pepper; brush half over salmon. Grill, covered, over medium-high heat, brushing once with remaining lemon mixture, until fish flakes easily, 15-25 minutes, depending on thickness of fillet and type of salmon used.

From Canadian Living’s The Barbecue Collection

This refreshing salad from the July 2011 issue of Cook’s Illustrated is perfect for a warm summer evening. The steak is grilled, sliced and quickly tossed with hot chiles, shallots, mint and cilantro in a classic Thai sauce of fish sauce, lime juice and sugar. The mixture is then served over crisp slices of cucumber. The salad is also enhanced by the addition of toasted rice powder, which adds texture. Our butcher did not have flank steak, so I used a New York striploin. Whatever type of steak you used, be sure to slice it thinly, across the grain. I also used a jalapeno instead of Thai chile.

Toast rice and grind it into a powder

Chiles and shallots add heat and flavour

Mint and cilantro add fresh flavours

To avoid additives and preservatives in this recipe, use fresh lime juice and a fish sauce without MSG, such as Thai Kitchen brand.

Thai Grilled-Beef Salad

Ingredients:

1 teaspoon sweet paprika

1 teaspoon cayenne pepper

1 tablespoon white rice

3 tablespoons lime juice (2 limes)

2 tablespoons fish sauce

2 tablespoons water

½ teaspoon sugar

1 ½ pound flank steak, trimmed

Salt and white pepper, coarsely ground

4 shallots, sliced thin

1 ½ cups fresh mint leaves, torn

1 ½ cups fresh cilantro leaves

1 Thai chile, stemmed and sliced thin into rounds

1 seedless English cucumber, sliced ¼ inch thick on bias

Preparation:

Heat paprika and cayenne in 8-inch skillet over medium heat; cook, shaking pan, until fragrant, about 1 minute. Transfer to small bowl. Return now-empty skillet to medium-high heat, add rice, and toast, stirring frequently, until deep golden brown, about 5 minutes. Transfer to second small bowl and cool for 5 minutes. Grind rice with spice grinder, mini food processor, or mortar and pestle until it resembles fine meal, 10 to 30 seconds (you should have about 1 tablespoon rice powder).

Whisk lime juice, fish sauce, water, sugar, and 1/4 teaspoon toasted paprika mixture in large bowl and set aside.

For a Charcoal Grill: Open bottom vent completely. Light large chimney starter filled with charcoal briquettes (6 quarts). When top coals are partially covered with ash, pour evenly over half of grill. Set cooking grate in place, cover, and open lid vent completely. Heat grill until hot, about 5 minutes.

For a Gas Grill: Turn all burners to high, cover, and heat grill until hot, about 15 minutes. Leave primary burner on high and turn off other burner(s).

Clean and oil cooking grate. Season steak with salt and white pepper. Place steak over hot part of grill and cook until beginning to char and beads of moisture appear on outer edges of meat, 5 to 6 minutes. Flip steak and continue to cook on second side until charred and center registers 125 degrees, about 5 minutes longer. Transfer to plate, tent loosely with aluminum foil, and let rest for 5 to 10 minutes (or allow to cool to room temperature, about 1 hour).

Slice meat, against grain, on bias into 1/4-inch-thick slices. Transfer sliced steak to bowl with fish sauce mixture. Add shallots, mint, cilantro, chile, and half of rice powder; toss to combine. Transfer to platter lined with cucumber slices. Serve, passing remaining rice powder and toasted paprika mixture separately.

Serve with steamed rice. Serves 4 to 6.

From the July 2011 issue of Cook’s Illustrated

Thai Beef Salad

This new find, which is great for a quick weeknight supper, is from the June 2011 issue of Everyday Food. Simply marinate steak in a mixture of oil, chile powder, brown sugar, soy sauce and lime juice, grill it with some onion slices and serve in soft tortillas with your favourite toppings. The magazine recipe suggested a tomatillo salsa, but tomatillos are not available here so I used our own homemade salsa (see my September 19, 2010 post for the recipe).

Slice the grilled steak into thin strips

Grill slices of onion along with the steak

I used grape tomatoes and feta cheese as toppings.

Serve in soft tortillas with your favourite toppings

To avoid additives and preservatives in this recipe, use tamari instead of soy sauce, which frequently contains sodium benzoate. Use fresh lime juice and tortillas with no artificial ingredients.

Ingredients:

1 tablespoon vegetable oil, plus more for grill

2 tablespoons chile powder, such as ancho, pasilla, or chipotle

2 tablespoons light-brown sugar

2 tablespoons soy sauce

2 tablespoons fresh lime juice, plus wedges for serving

1-½ pounds flank steak

Coarse salt and ground pepper

1 large red onion, cut into ¼-inch rounds

12 corn tortillas, warmed or lightly toasted

Salsa, for serving

Directions:

In a small bowl, whisk together oil, chile powder, brown sugar, soy sauce, and lime juice. Place steak in a 9-by-13-inch baking dish and cover with marinade. Turn once to coat steak, then cover dish tightly in plastic wrap and refrigerate 1 hour.

Heat a grill or grill pan to medium-high. Clean and lightly oil hot grill. Remove steak from marinade, letting excess drip off; reserve marinade. Season steak with salt and pepper. Grill onion and steak, flipping occasionally, until onion is lightly charred and steak is medium-rare, about 10 minutes. Brush onion and steak with reserved marinade and cook 1 minute more, flipping once. Place onion on a serving plate.

Transfer steak to a cutting board, loosely tent with foil, and let rest 10 minutes before thinly slicing against the grain. Serve steak and onion with tortillas, salsa, and lime wedges. Makes 12 tacos.

From the June 2011 issue of Everyday Food

If you want to increase the amount of grains and vegetables you eat, try this great new find from the June 2011 issue of Canadian Living. Vegetables are grilled, tossed with cooked quinoa, feta cheese and cilantro, and dressed with a delicious smoky-sweet chipotle vinaigrette. I didn’t have red or yellow peppers on hand, so I substituted red onion and green pepper. I used chipotle Tabasco sauce instead of the canned chipotle and I omitted the pumpkin seeds.

Use whatever raw vegetables you like to grill

Grill vegetables until tender

I’ll be making this many times this summer. It is a wonderful accompaniment to grilled meats, and would also satisfy vegetarians and those looking for a gluten-free dish.

Grilled Vegetable Quinoa Salad

To avoid additives and preservatives in this recipe, use feta cheese with no artificial ingredients added and red wine vinegar with no sulfites added, such as Eden Organic.

Ingredients:

Salad

1 cup quinoa
1 sweet red pepper, quartered
1 sweet yellow pepper, quartered
1 zucchini, cut lengthwise in 1/2-inch thick strips
12 asparagus spears, trimmed
½ cup light feta cheese, crumbled
¼ cup toasted pumpkin seedpumpkin seeds
3 tbsp chopped fresh cilantro

Chipotle Vinaigrette

3 tbsp olive oil
2 tbsp red wine vinegar
1 canned chipotle pepper in adobo sauce, minced
2 tsp liquid honey
½ tsp ground cumin
¼ tsp salt
¼ tsp pepper

Preparation:

Soak quinoa in cold water for 3 minutes; drain in sieve. In saucepan, bring 1-½  cups salted water to boil; stir in quinoa and return to boil. Reduce heat to low; cover and simmer until no liquid remains, 12 to 15 minutes.

Remove from heat and fluff with fork; cover and let stand for 5 minutes. Spread on small tray and let cool for 10 minutes.

Meanwhile, whisk together oil, vinegar, chipotle pepper in adobo sauce, honey, cumin, salt and pepper. Set aside.

In large bowl, toss together red and yellow peppers, zucchini, asparagus and 3 tbsp of the vinaigrette until coated. Place on greased grill over medium heat; close lid and grill until charred and tender, 4 to 6 minutes for asparagus, 10 to 12 minutes for peppers and zucchini. Cut into large chunks and return to bowl.

Add remaining dressing, quinoa, half of the feta cheese, the pumpkin seeds and cilantro; stir until incorporated. Sprinkle with remaining feta. Serve immediately. Serves 6.

From the June 2011 issue of Canadian Living

Warm weather means salads, and this is a delicious pasta salad from a now-defunct restaurant that was in Perth, Ontario, called The Hungry Planet. This recipe is from a June 20, 2007 Ottawa Citizen article about the restaurant that included some of its popular recipes. I like it because it is easy to make, substantial, and filled with lots of my favourite ingredients, including shrimp, olives, feta and basil.

Saute shrimp or grill on the barbecue

Assemble all the ingredients in a large bowl

Add pasta, dressing and serve

To avoid additives and preservatives in this recipe, use olives with no preservatives added. I used Pilaros brand green olives stuffed with garlic, which are available at Costco. Check the label on the feta cheese and shrimp to make sure they are all-natural. Balsamic vinegar usually has sulfites added; try to find one that has only naturally occurring sulfites.

Ingredients:

2 to 3 large, ripe juicy tomatoes

½ medium red onion, thinly sliced

1 cup pitted green olives, coarsely chopped

2 tsp minced garlic

1½ cups crumbled feta cheese

1 lb. cooked and cooled shrimp

4 tbsp chopped Italian parsley

4 tbsp shredded fresh basil

1 tsp dried oregano

1 lb. short pasts (such as penne), cooked, drained, but still warm

½ cup fruity extra-virgin olive oil

4 tbsp balsamic vinegar

Dried chili pepper flakes

Preparation:

In a large bowl, combine tomatoes, onion, olives, garlic, feta, shrimp, parsley, basil and oregano. Toss with warm pasta and fess with the oil and vinegar, to taste. Add chili flakes, if desired. Add salt if needed. Serve immediately. Serves 4.

From the June 20, 2007 Ottawa Citizen

This is my first post in about 10 days, due to the fact that we just returned to our house in Almonte for the summer. We love the apartment, but I am delighted to be back in my house kitchen, with my beloved gas stove. And I am over the moon about being able to barbecue again for the first time almost five months. There is also tarragon in the garden, so I decided to make Chicken Skewers with Tarragon-Pistachio Pesto from the April 2011 issue of Bon Appetit. It is dead easy to make: thread chicken, onion, red pepper and lemon slices on skewers; whirl parsley, tarragon, pistachios, lemon juice, garlic and oil in the food processor to make the pesto; brush some of the pesto on the skewers, and grill. The recipe calls for chicken tenders, but I used chicken breasts, cut into 1-inch pieces.

Tarragon-pistachio pesto

Grill the skewers until the chicken is cooked and the vegetables are tender

Serve the remaining pesto with the cooked skewers.

Chicken Skewers with Tarragon-Pistachio Pesto

To avoid additives and preservatives in this recipe, use all-natural pistachios and fresh lemon juice.

Ingredients:

½ cup chopped fresh Italian parsley

2 tablespoons chopped fresh tarragon

2 tablespoons unsalted natural pistachios

1 tablespoon fresh lemon juice

1 medium garlic clove, peeled

¼ cup olive oil

16 1-inch pieces red onion (1/3 inch thick)

16 1-inch squares red bell pepper

8 lemon slices, halved

1 pound chicken tenders (about 8 large)

Special equipment – 8 metal skewers

Preparation:

Puree first 5 ingredients in processor. Add ¼ cup olive oil and blend until slightly coarse paste forms. Mix in 2 tablespoons water. Season with salt and pepper. Transfer 3 tablespoons pesto to small bowl (for brushing chicken and vegetables); reserve remaining pesto.

Prepare barbecue (medium-high heat). Brush grill with oil. Thread 1 onion piece, 1 bell pepper square, 1 lemon slice half, 1 chicken tender (lengthwise), then 1 onion piece, 1 bell pepper square, and 1 lemon slice half alternately on each of 8 skewers. Brush vegetables and chicken on skewers with olive oil, then with 3 tablespoons pesto from small bowl. Sprinkle skewers with salt and pepper. Grill until chicken is cooked through and vegetables are slightly softened, 6 to 8 minutes per side. Serve with reserved pesto. Serves 4.

From the April 2011 issue of Bon Appetit

If you love roast chicken and vegetables, this one-pot dinner from the May issue of Everyday Food is perfect for you. Rub a whole chicken with spices, arrange wedges of carrot, sweet potato and orange around it and roast until the chicken is done. The recipe says a 3½- to 4-lb. chicken will be ready in an hour, but mine took about an hour and 15 minutes. The roasted orange wedges add great flavour.

Rub a whole chicken with spices and arrange vegetables and orange wedges around it

Roast until the chicken skin is golden and the internal temperature is at least 165 degrees

I used one large sweet potato instead of two and added a parsnip to the mix. I served the chicken and vegetables with couscous.

Coucous is a nice accompaniment

To avoid additives and preservatives in this recipe, make sure your spices are all-natural and do not contain anti-caking agents or colour.

Ingredients:

1 tsp paprika

1 tsp ground ginger

½ tsp ground coriander

½ tsp ground cumin

1 whole chicken, 3½ to 4 lbs., rinsed and patted dry, legs tied

Coarse salt and ground pepper

2 medium sweet potatoes, peeled, halved crosswise and cut into ½-inch wedges

2 medium carrots, cut into 2-inch pieces

1 orange, unpeeled, cut into 8 wedges

Preparation:

Preheat oven to 450 degrees. In a small bowl, combine spices. Season chicken with salt and pepper, then rub all over with spice mixture. Place in a large Dutch oven or heavy pot with a tight-fitting lid. Arrange vegetables and orange wedges around chicken and add ½ cup water. Cover and roast 30 minutes. Remove lid and roast until skin is golden brown and juices run clear when chicken is pierced between breast and leg (an instant-read thermometer inserted in thickest part of a thigh, avoiding bone, should read 165 degrees), 30-45 minutes. Let rest 10 minutes, covered loosely with foil, before carving. Serve with vegetables and orange wedges. Serves 4.

From the May 2011 issue of Everyday Food

Last week we took a trip to Toronto’s Chinatown. While it is fun to just meander up and down the streets, we were also on the lookout for a large bamboo steamer. We finally found one, and, at $16 including tax, it was worth the hunt, given that specialty kitchen stores sell them for more than $50. The next day, we visited the fish counter at Whole Foods and bought a whole Branzino fish, also known as European Sea Bass. It was the perfect size for two. To prepare it, I adapted a recipe for steaming whole fish from the May 2011 issue of Martha Stewart Living. The fish is marinated in a mixture of soy sauce and sesame oil, topped with ginger and scallions and steamed for 15 minutes. It was amazing, and so easy.

Marinate the fish in a mixture of soy sauce and sesame oil

Top the fish with scallions and ginger, place on top of red onion and steam

We served the fish with rice and a mélange of rapini, onion and peppers.

The steamed fish is moist and delicious

To avoid additives and preservatives in this recipe, use tamari sauce, which uses alcohol as a preservative instead of sodium benzoate.

Ingredients

½ cup soy sauce

1 tablespoon plus 1 ½ teaspoons toasted-sesame oil

1 whole branzino or other whole fish, scaled and gutted, gills removed

1 piece (2 inches) peeled fresh ginger, cut into matchsticks

5 scallions, halved lengthwise and cut crosswise into 1-inch pieces

2 cups water

1 large red onion, sliced ½ inch thick

Directions

Whisk together soy sauce and sesame oil in a 9-by-13-inch baking dish. Cut a few slits into the fish on both sides using a sharp paring knife. Transfer to dish; turn to coat.

Toss ginger with scallions; stuff some into each fish cavity. Spread remaining mixture on top of fish. Let stand, covered, spooning marinade over fish often, for 30 minutes.

Bring water to a boil in a large skillet or wok. Arrange red onion on bottom layer of a 12-inch bamboo steamer. Remove fish from marinade with ginger-scallion mixture still on top, and arrange side by side on onion; reserve marinade.

Set steamer in skillet. Steam, covered, until fish is cooked, about 15 minutes.

Meanwhile, bring marinade to a boil in a small saucepan. Cook until reduced by half. Strain through a fine sieve. Serve fish with reduced sauce. Serves 2.

Adapted from the May 2011 issue of Martha Stewart Living

Epicurious.com is a great foodie site. It includes recipes from Bon Appetit and the late, great Gourmet that are searchable by keyword. It also includes a handy shopping list feature, photos and reader reviews. Last week I felt like trying a new recipe for pork stir-fry and Epicurious.com yielded this great recipe from Gourmet’s February 2001 issue. The sauce uses ingredients you are likely to have on hand and you can use a variety of vegetables. In addition to the red pepper and snow peas called for in the recipe, I used some leftover asparagus.

Assemble all your stir-fry ingredients before cooking

Stir fry the vegetables and cashews first

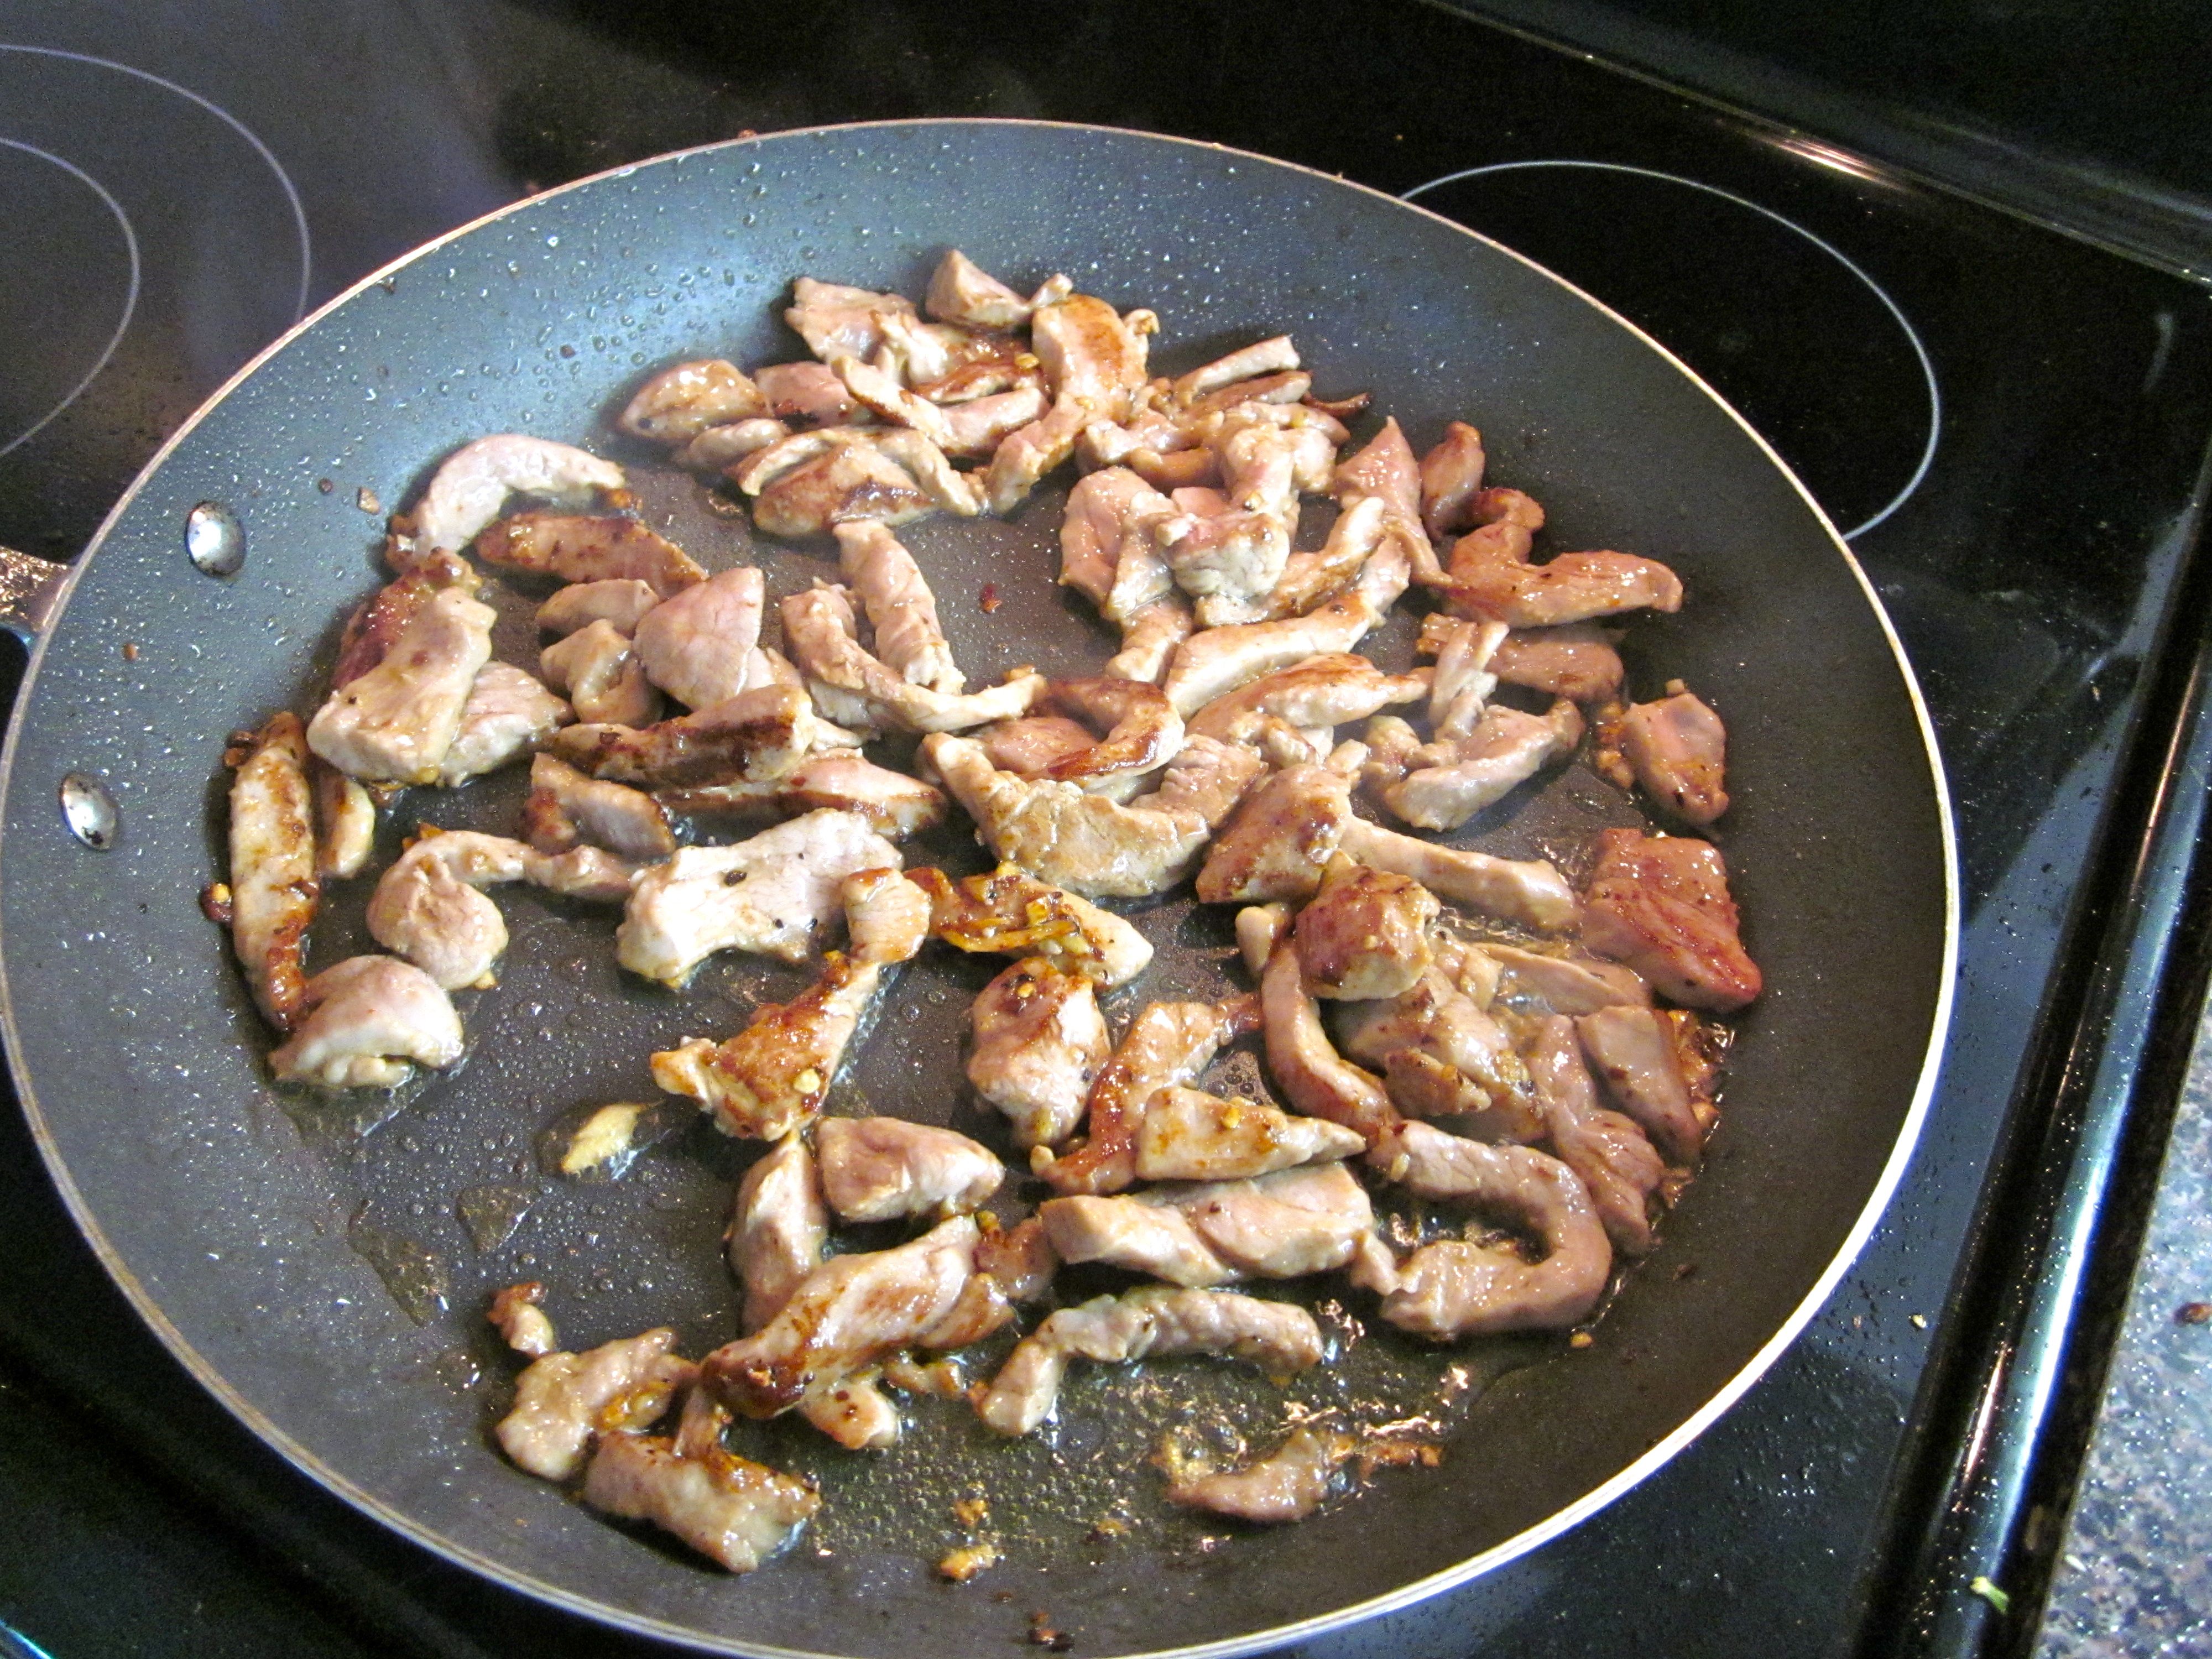
Then sear the pork; don't crowd the pan or the pork will steam instead of sear

Recombine the ingredients, add the sauce and heat through

Serve with rice

To avoid additives and preservatives in this recipe, use tamari instead of soy sauce. Tamari is preserved with alcohol, instead of a preservative such as sodium benzoate.

Ingredients:

1 tablespoon medium-dry Sherry
2 teaspoons cornstarch
3 tablespoons soy sauce
2 teaspoons Asian sesame oil
3/4 lb boneless pork loin, thinly sliced, then cut into 2- by 1/4-inch strips
1 teaspoon sugar
3 tablespoons peanut oil
2 teaspoons minced peeled fresh ginger
2 teaspoons minced garlic
1/2 teaspoon dried hot red pepper flakes
1 large red bell pepper, cut into 1/4-inch-thick strips
1/2 lb snow peas, trimmed
1 cup salted roasted cashews

Preparation:

Stir together Sherry, cornstarch, and 1 tablespoon soy sauce, then stir in sesame oil. Add pork, stirring to coat well, and let stand 10 minutes.

Stir together sugar and remaining 2 tablespoons soy sauce.

Heat a wok or large nonstick skillet over high heat until a bead of water dropped on cooking surface evaporates immediately. Add 1 1/2 tablespoons peanut oil, swirling wok to coat evenly, then stir-fry 1 teaspoon ginger, 1 teaspoon garlic, and 1/4 teaspoon pepper flakes until fragrant, about 5 seconds. Add bell pepper and stir-fry 2 minutes. Add snow peas and cashews and stir-fry until snow peas are crisp-tender, 1 to 2 minutes. Transfer vegetables to a bowl.

Heat remaining 1 1/2 tablespoons peanut oil in wok until just smoking, then stir-fry remaining ginger, garlic, and pepper flakes until fragrant, about 5 seconds. Add pork and stir-fry, separating strips, until browned and barely cooked through, 2 to 3 minutes. Add vegetables and sweetened soy sauce, then stir-fry until vegetables are just heated through, about 1 minute more. Serve with rice. Serves four.

From the February 2001 issue of Gourmet, found on Epicurious.com

Rice is one of the easiest and most nutritious things to cook, yet I know a number of people who say they can’t make it work. I think there are two keys to perfect rice. The first is to buy quality rice – no Uncle Ben’s please. The second is to use less liquid than most recipes call for. When I make rice, I heat a tablespoon of oil in a small saucepan for a minute before adding a cup of Thai jasmine or basmati rice. Stir the rice to coat it with oil and keep it over medium heat for a couple of minutes to “toast” the grains, which brings out their nutty flavour. Then add 1/2 tsp salt and 1 1/2 cups water or stock and bring the mixture to a boil. Once the pot is boiling, give the contents a quick stir, cover, and reduce the heat to low. Keep the lid on for 17 minutes – no peeking! After 17 minutes, remove the pot from the heat, but keep the lid on for another 10 minutes before fluffing the rice with a fork and serving.

You can also add onion and spices to flavour the rice. Here is a very tasty recipe from Canadian Living that is always a big hit.

Always use good quality rice

Saute red onion in butter or oil

Add rice, bay leaf and other spices

Add stock and bring to boil before covering

Cook rice for 17 minutes and let stand for 10, covered, before serving

Fluff the cooked rice with a fork and serve

To avoid additives and preservatives in this recipe, use a good quality of rice, butter that does not contain colour and all-natural stock.

Ingredients:

2 tbsp (15 mL) butter or oil

1 small red onion, cut in thin wedges

1 cup basmati or parboiled rice

1 bay leaf

1 tsp (2 mL) chopped fresh thyme (or 1/4 tsp dried)

1/2 tsp (1 mL) salt

Pinch pepper

1 1/2 cups (250 mL) chicken stock

1/4 cup (50 mL) toasted halved cashews

Fresh thyme sprigs (optional)

Preparation:

In heavy saucepan, heat butter or oil over medium heat; cook onion for 3 minutes or until softened. Stir in rice, bay leaf, thyme, salt and pepper; cook, stirring, for 1 minute. Pour in stock; bring to boil. Cover and reduce heat to low; simmer for 17 minutes. Remove from heat and keep lid on for 10 minutes. Before serving, discard bay leaf and fluff rice with a fork. Sprinkle with cashews; garnish with thyme sprigs (if using). Serves 4.

From Canadian Living

« Previous Page — Next Page »