Our tomatoes are ripening, which means it’s time for the simplest and most delicious salad – sliced tomatoes drizzled with olive oil and balsamic vinegar and topped with fresh herbs and cheese.

I love fresh basil and slices of bocconcini cheese on tomatoes; another great topper is goat cheese, slightly softened in the microwave. In the photos below, heirloom tomatoes are served with mixed greens and crumbled feta cheese.

To avoid additives and preservatives, be sure to use a balsamic vinegar labelled “no sulfites added” or “contains only naturally occurring sulfites”. As for the cheese, check the label to make sure it has no artificial ingredients added.

I wouldn’t have thought of doing a potato-cauliflower curry on the grill, but when I saw this recipe from Lucy Waverman in the May 14, 2010 Globe and Mail I decided to give it a try. I’m glad I did, because it is the perfect accompaniment to the chicken.

I marinated the chicken overnight. When I was ready to cook, I made the marinade for the vegetables and pre-cooked the potates and cauliflower. The recipe suggested boiling the potatoes for 5 minutes and the cauliflower for 3, but I increased those times because I wanted the vegetables to be tender. The vegetables marinate for an hour, so place them in the marinade while you preheat the grill and cook the chicken. The recipe calls for small red potatoes but I used a mixture of red, white and purple.

Potatoes and cauliflower in marinade

Thread the vegetables onto skewers and quickly grill them while the chicken is resting.

Grilled potato cauliflower curry

Grilled Bombay chicken

To avoid additives and preservatives in this recipe, use an all-natural curry paste, such as Thai Kitchen brand, and fresh lemon and lime juice.

Grilled Bombay Chicken

Ingredients:

1 tablespoon chopped fresh ginger

1 tablespoon chopped garlic

2 tablespoons medium to hot curry paste

1 teaspoon honey

2 tablespoons lime juice

½ cup yogurt

2 tablespoons vegetable oil

4 chicken breasts, skin on, bone in

Salt to taste

Preparation:

Combine ginger, garlic, curry paste, honey, lime juice, yogurt and vegetable oil in a bowl and whisk until uniform. Spoon marinade over the chicken and marinate for 1 hour or overnight in the refrigerator.

Preheat grill to medium-low.

Season chicken with salt and place chicken, skin side up, on grill. Grill for 20 minutes, turn chicken over and grill, skin side down, for 10 minutes. Turn over again and grill for another 5 minutes or until juices run clear. (Grilling time will depend on the thickness of the breasts.)

Remove chicken and let rest for 5 minutes. Place on a platter and garnish with lime wedges and cherry tomatoes. Serves 4.

Grilled Potato and Cauliflower Curry

Ingredients:

1 pound (500 grams) small red potatoes

1 head cauliflower, cut into large florets

Marinade:

½ cup chopped onions

1 tablespoon chopped garlic

1 tablespoon chopped ginger

½ cup coarsely chopped mint leaves

¼ teaspoon cayenne pepper

1 teaspoon ground coriander

1 teaspoon ground cumin

2 tablespoons lemon juice

3 tablespoons vegetable oil

Preparation:

Place potatoes in a pot of cold salted water and bring to a boil over high heat. Boil for 5-10 minutes or until potatoes are crisp tender. Drain and return potatoes to pot to dry off over turned-off heat. Set aside.

Bring a pot of water to boil. Add cauliflower florets and boil for 3-5 minutes or until crisp tender. Drain and refresh with cold water until florets are cold.

Combine onions, garlic, ginger, mint, cayenne, coriander, cumin, lemon juice and vegetable oil by hand or in a food processor. Toss with potatoes and cauliflower and let marinate for 1 hour.

Preheat grill to medium-low.

Thread potatoes and cauliflower onto skewers. Season with salt and grill for 6 to 8 minutes, turning occasionally, or until golden. Remove from skewers and toss together in a bowl. Garnish with mint. Serves 4 to 6.

Based on a recipe by Lucy Waverman in the May 14, 2010 issue of the Globe and Mail

This is a family favourite from a well-thumbed copy of Elizabeth Rozin’s Ethnic Cuisine – How to Create the Authentic Flavours of 30 International Cuisines (1983). Chunks of boneless lamb are marinated for several hours or overnight in olive oil, lemon juice, dried oregano, salt and pepper before grilling.

Grilled Lamb Souvlaki

I serve this with the Greek salad from the same cookbook. The recipe calls for iceberg lettuce, but romaine would stand up to the dressing just as well. Avoid mixed greens, which would quickly wilt in this assertive dressing.

Greek Salad

Round out the menu with grilled baby potatoes tossed with oil, oregano and lemon juice.

Lamb Souvlaki with Greek Salad and Potatoes

To avoid additives and preservatives in this recipe, use fresh lemon juice. Check the ingredients in the black olives and feta and avoid ones with preservatives added.

Souvlaki

Ingredients:

1/4 cup olive oil

Juice of 1 lemon

2 tbsp crumbled dried oregano

1 tsp salt

1/4 freshly ground black pepper

2 lbs. boneless lamb, cut into 1-inch cubes

1 large onion, cut into 1-inch pieces

2 green peppers, cut into 1-inch pieces

Preparation:

Combine olive oil, lemon juice, oregano, salt and pepper and beat well with a fork. Pour over lamb cubes and mix well to make sure all cubes are coated. Marinate 4-6 hours or overnight. Thread lamb onto skewers with onion and green pepper. Grill, turning once, for about 4 minutes per side or until done. Serves 4-6.

Greek Salad

Ingredients:

1 head iceberg lettuce, coarsely chopped

1 cucumber, peeled and sliced

2 tomatoes, cut into eighths

1 green pepper, seeded and chopped

2 scallions, chopped

1/2 Greek black olives

1/4 cup feta cheese, crumbled

1/2 cup olive oil

1/3 cup fresh lemon juice

2 tsp crumbled dried oregano

1 tsp salt

1/8 freshly ground black pepper

1 clove garlic, smashed

Preparation:

Combine olive oil, lemon juice, salt, pepper and garlic and beat well. Place all other ingredients in large salad bowl, pour dressing over and toss to combine. Serves 6-8.

From Ethnic Cuisine – How to Create the Authentic Flavours of 30 International Cuisines

It’s been a exceptional season for corn and we plan to keep enjoying it as long as we can. I frequently remove the kernels from the cob and sauté them with onions, peppers and herbs (see the recipe for Confetti Corn on my July 18 post). But sometimes I just want to enjoy it on the cob. Most recipes suggest boiling corn on the cob, but for the past 20 years or so, I’ve been steaming it in the microwave and I think this method beats boiling. In addition to producing tender corn, this method has a couple of other things going for it. First, you can prepare the cobs ahead of time and simply microwave them at the last minute, meaning you can avoid boiling water and the precise timing the boiling method requires. As well, because each cob is buttered and encased in its own wrapping, it is easy to serve and stays hot until you are ready to eat it. Try this method and let me know if it works for you.

To avoid additives and preservatives in this recipe, be sure to use butter that does not contain colour.

Ingredients:

Fresh cobs of corn

Melted butter (feel free to add flavourings or fresh herbs to the butter, such as cayenne, chile powder and chives)

Preparation:

Remove husks and silk from corn. Rinse cobs of corn. Take a piece of plastic wrap that is about a foot long and place it on your work surface. Place one cob of corn toward the bottom of the plastic wrap and brush it with the melted butter. Then roll up the corn in the plastic wrap (make sure the plastic wrap goes around the corn at least once) and loosely twist the ends. Repeat with remaining cobs of corn. Place the cobs on a microwave-proof dish and microwave on high for a total of 2 minutes per cob. For example, microwave four cobs of corn for 8 minutes. If the cobs are large, add one more minute (i.e., four large cobs would take 9 minutes). Let stand for at least five minutes before serving. To keep the corn hot even longer, cover the platter with a clean dish towel. Unwrap and enjoy!

This beef kebab recipe from the September-October issue of Cook’s Illustrated uses an acid-free marinade designed to keep the meat juicy while permitting it to develop a nice char on the outside. Another good tip in this recipe is keeping the meat and vegetable kebabs separate. The meat cooks over the hottest part of the grill, while the vegetables cook more slowly on the perimeter. While the meat is resting, the vegetables continue to cook until browned and tender.

Kebabs on grill

Zucchini, onion and red pepper kebabs

I served the kebabs with baby potatoes steamed with olive oil and herbs in a foil packet on the grill.

Steamed baby potatoes

To avoid additives and preservatives in this recipe, use organic broth.

Beef and vegetable kebabs with potatoes

Ingredients:

Marinade

1 medium onion, roughly chopped (1 3/4 cups)

6 medium garlic cloves, roughly chopped

2 teaspoons finely grated zest from 1 lemon

2 tablespoons chopped fresh rosemary leaves

1/3 cup beef broth

1/3 cup vegetable oil, plus extra for cooking grate

3 tablespoons tomato paste

2 teaspoons table salt

1 1/2 teaspoons sugar

3/4 teaspoon ground black pepper

Beef and Vegetables

2 pounds sirloin steak tips, trimmed of excess fat and cut into 2-inch chunks

1 large zucchini or summer squash (about 1/2 pound), ends trimmed, halved lengthwise, and cut crosswise into 1-inch-thick slices

1 large red or green bell pepper , stemmed, seeded, and cut into 1 1/2-inch pieces

1 large red or sweet onion , ends trimmed, peeled, halved lengthwise, core discarded, each half cut into 4 wedges and each wedge cut crosswise into thirds

Preparation:

Marinade

Place all ingredients in blender and process until smooth, about 45 seconds. Transfer ¾ cup marinade to large bowl and set aside.

Beef and vegetables

Toss remaining marinade and beef in second large bowl. Cover with plastic wrap and refrigerate 1 hour or up to 2 hours, tossing beef after 30-minutes. Meanwhile, prepare vegetables and toss with reserved marinade. Cover and let vegetables marinate at room temperature at least 30 minutes.

Remove beef from marinade and pat dry with paper towels. Tightly thread beef onto two 12-inch metal skewers, rolling or folding meat as necessary to maintain 2-inch cubes. Thread vegetables onto two 12-inch metal skewers, in alternating pattern of zucchini, pepper, and onion.

About 30 minutes before grilling, light large chimney starter mounded over rim with charcoal (7 quarts, about 120 briquettes) and allow to burn until coals are fully ignited and partially covered with ash, about 25 minutes. Build single-level fire by arranging all coals in center of grill in even layer, leaving 2-inch gap between grill wall and charcoal.

Position cooking grate over coals, cover grill, and heat grate until hot, about 5 minutes; scrape grate clean with grill brush. Dip wad of paper towels in oil; holding wad with tongs, wipe cooking grate. Grill is ready when coals are hot (you can hold your hand 5 inches above grate for 2 seconds).

Place meat skewers in center of grill directly over coals and vegetable skewers near edge of coals but still over fire. Grill beef skewers until well browned, slightly charred, and instant-read thermometer inserted into center of meat registers 125 degrees for medium-rare, 12 to 16 minutes, turning every 3 to 4 minutes. Transfer beef skewers to serving platter, loosely tent with foil, and let rest 10 minutes. Continue to grill vegetable skewers until vegetables are tender and slightly charred, about 5 minutes longer (17 to 21 minutes total), turning every 4 to 5 minutes. Transfer vegetables to platter with beef. Remove beef and vegetables from skewers and serve. Serves 4-6.

From the September-October 2010 issue of Cook’s Illustrated

This recipe from Great American Grilling (1996) is perfect for a summer weeknight meal and would also work for a casual dinner party. You can use a whole chicken, butterflied, or chicken pieces, as I have done here. Marinate the chicken up to a day ahead in a paste of garlic, green onions, ginger, spices and fish sauce and before grilling it.

Thai chicken on grill

I serve the grilled chicken with gai yang sauce, a hot and sweet sauce made from chiles, garlic, sugar and water. This recipe is from the July 1999 issue of Gourmet.

Gai Yang Sauce

The chicken and sauce are delicious with a Thai noodle salad, also from Great American Grilling. Cooked wheat or rice noodles, cucumbers, red pepper, green onions, cilantro and basil are tossed with a dressing made from rice vinegar, soy sauce, ginger, sesame oil, hot pepper flakes and garlic. Be sure to dress the salad just before serving and add the basil at the very end.

Thai Chicken with Gai Yang Sauce and Thai Noodle Salad

To avoid additives and preservatives in this recipe, use fish sauce without MSG, such as Thai Kitchen brand. Rice vinegar and soy sauce can also contain additives, so read the label carefully. I use Marukan brand seasoned rice vinegar for this recipe and tamari instead of soy sauce.

Thai Chicken

Ingredients:

1 chicken, 3 to 3 ½ lbs (or use chicken pieces)

6 large garlic cloves, chopped

¼ cup thinly sliced green onions

1 tbsp chopped fresh ginger

½ tsp each ground coriander and coarsely ground pepper

2 tbsp fish sauce

Preparation:

If using a whole chicken, remove excess fat from chicken. Rinse chicken inside and out and pat dry. With poultry shears or knife, split chicken lengthwise through breastbone. Place, skin side up, on a flat surface, pull open, and press firmly, cracking bones slightly, until bird lies reasonably flat.

With mortar and pestle, or in a blender, grind garlic, onions, ginger, coriander, pepper and fish sauce into a coarse paste. Pat paste all over chicken. Cover and refrigerate for at least 10 minutes or until next day.

Heat charcoal or gas grill and oil grate. Place chicken on grate and cook until meat near thighbone is no longer pink, about 50-60 minutes for whole chicken (less for pieces). Let chicken rest, covered loosely with foil, for 10 minutes before carving. Serve with gai yang sauce. Serves 4.

Gai Yang Sauce

Ingredients:

2 small fresh hot red chiles (about 2 inches long) such as Thai or serrano

4 garlic cloves

¾ cup sugar

½ cup water

Preparation:

Mince chiles (wear gloves if you are sensitive to the heat of the chiles). Mince garlic. Combine chiles, garlic, sugar and water in small saucepan and simmer, stirring occasionally, for 10 minutes. Cool to room temperature. Sauce may be made a day ahead and chilled, covered. Bring to room temperature before serving. Serve with Thai chicken.

Thai Noodle Salad

Ingredients:

For salad

8 ounces dried capellini, spaghetti or linguine, or thin rice noodles

1 medium cucumber, seeded and cut into thin slivers

1 red pepper, cut into thin slivers

1/3 cup each thinly sliced green onions, chopped cilantro and chopped fresh basil

For dressing

½ cup rice vinegar

¼ cup soy sauce

1 tbsp each sugar, minced fresh ginger and sesame oil

½ to 1 tsp crushed red pepper flakes

1 clove garlic, minced

Preparation:

In small bowl, combine ingredients for dressing. Bring large pot of water to boil and cook pasta until al dente; don’t overcook. Drain and rinse with cold water; drain again. Pour pasta into wide shallow bowl and top with cucumber, red pepper, onions and cilantro. Add dressing and toss. Top with basil. Serves 4.

From Great American Grilling and the July 1999 issue of Gourmet

Several weeks ago my friend Ivonne, who has a wonderful blog (www.creampuffsinvenice.ca) and who co-founded The Daring Kitchen blog asked me if I’d like to review some cookbooks for The Daring Kitchen website. Would I! I love cooking, I love cookbooks and I write for a living, so I replied with a resounding yes.

The first book I received was ’wichcraft, by celebrity chef Tom Colicchio. This cookbook includes recipes and techniques from his chain of ’wichcraft sandwich shops in the U.S. These are gourmet sandwiches, which feature delicious ingredient combinations. But they take time to make. I made four sandwiches from ’wichcraft, and you can read all about it in my review posted at www.thedaringkitchen.com.

One of the sandwiches I made combined red wine-braised flank steak with roasted peppers, onions and Gruyère. It was absolutely delicious. But, be forewarned, it took four hours to prepare.

The braised flank steak shredded beautifully

Sandwiches about to go into the oven

To avoid additives and preservatives in this recipe, use red wine with no sulfites added or with a sulfite content of 10 parts per million or less. You should also check the label on the cheese to make sure it does not contain colour.

Ingredients:

3 Tbsp vegetable oil

1 pound flank steak

1 medium carrot, cut in large dice

½ white onion, cut in large dice

2 garlic cloves, quartered

2-3 cups red wine

2 large sprigs fresh thyme

2 tsp kosher salt

1 large red onion, sliced crosswise into ¾-in wheels

8 Tbsp roasted red peppers

2 tsp olive oil

½ tsp sherry vinegar

4 ciabatta rolls

8 slice Gruyère cheese

Directions:

Preheat oven to 350 degrees.

Choose a heavy-bottom ovenproof skillet or Dutch oven that’s large enough for the flank steak to lie flat but is as snug as possible. Add 2 Tbsp of oil to the skillet over high heat. Once the oil starts to smoke, add the meat and cook for 5-7 minutes on each side, until deep brown in color. Remove meat from the skillet and set the meat aside.

Add the carrot and onion to the skillet, followed by the garlic. Saute the vegetables over medium-high heat until they start to brown but are still firm. Add the red wine–enough to come ¾ of the way up the side of the meat. Add the thyme and 1 tsp of the salt, cover the skillet, and transfer to the oven. Braise the meat for about 2½ hours, until it can be pulled apart with a fork. Transfer to a plate to rest and cool.

Reserve and strain the pan juices and pour into a saucepan. Over medium-low heat, reduce the juices until thickened (it should coat the back of a spoon). With two forks, separate the meat into chunky strings and roughly cut them crosswise into 2-3-inch pieces. Place the meat in the pot with the reduced juices and coat well.

Brush the red onion with the remaining 1 Tbsp vegetable oil. In grill pan or cast-iron skillet over high heat, grill the red onion (without separating into individual rings) until charred on the outside and slightly cooked on the inside. Place in a bowl and separate into rings. Add the peppers, olive oil, sherry vinegar, and remaining 1 tsp of salt and mix well.

Slice the ciabatta rolls in half. Place 1 slice of cheese on the bottom and top halves. Arrange the meat on the bottom halves of the rolls and the onions and peppers on the top halves and place all the roll pieces in the 350-degree over. Remove once the cheese is melted. Close the sandwiches, cut into halves, and serve. Makes 4 sandwiches.

From ’wichcraft, by Tom Colicchio and Sisha Ortúzar

We grew lots of zucchini this year, so my husband Bill made two batches of this delicious relish. We’ve been making it for years; it’s great with hot dogs and hamburgers, of course, but I love it with cold chicken (and have been known to eat it on crackers). It takes 3-4 hours to make, but the time invested is well worth having this condiment on hand. Added bonus: There are no additives or preservatives in these ingredients.

Ingredients:

3 lbs zucchini, finely chopped (about 9)

3 onions, finely chopped

2 sweet red peppers, seeded and finely chopped

¼ cup pickling salt

2 ½ cups granulated sugar

1 ½ cups white vinegar

1 ½ tsp dry mustard

1 tsp celery seeds

½ tsp coarsely ground pepper

½ tsp turmeric

1 tbsp water

2 tsp cornstarch

Preparation:

In large bowl, combine zucchini, onions and red peppers; sprinkle with salt and stir to blend. Let stand 1 hour, stirring occasionally. Drain in large sieve. Rinse thoroughly under cold running water; drain again, pressing out excess moisture.

In large heavy saucepan, combine sugar, vinegar, mustard, celery seeds, pepper and turmeric; bring to boil. Add drained vegetables and return to boil, stirring frequently.

Reduce heat and simmer, uncovered and stirring occasionally, for 15 minutes or until vegetables are tender and liquid has thickened.

Combine water with cornstarch; stir into relish. Cook, stirring, for 5 minutes or until liquid clears and thickens.

Pour into hot, sterilized canning jars, leaving ½ -inch headspace. Seal with prepared lids and screw on bands. Process in boiling water bath for 10 minutes. Makes 8 cups.

From Canadian Living
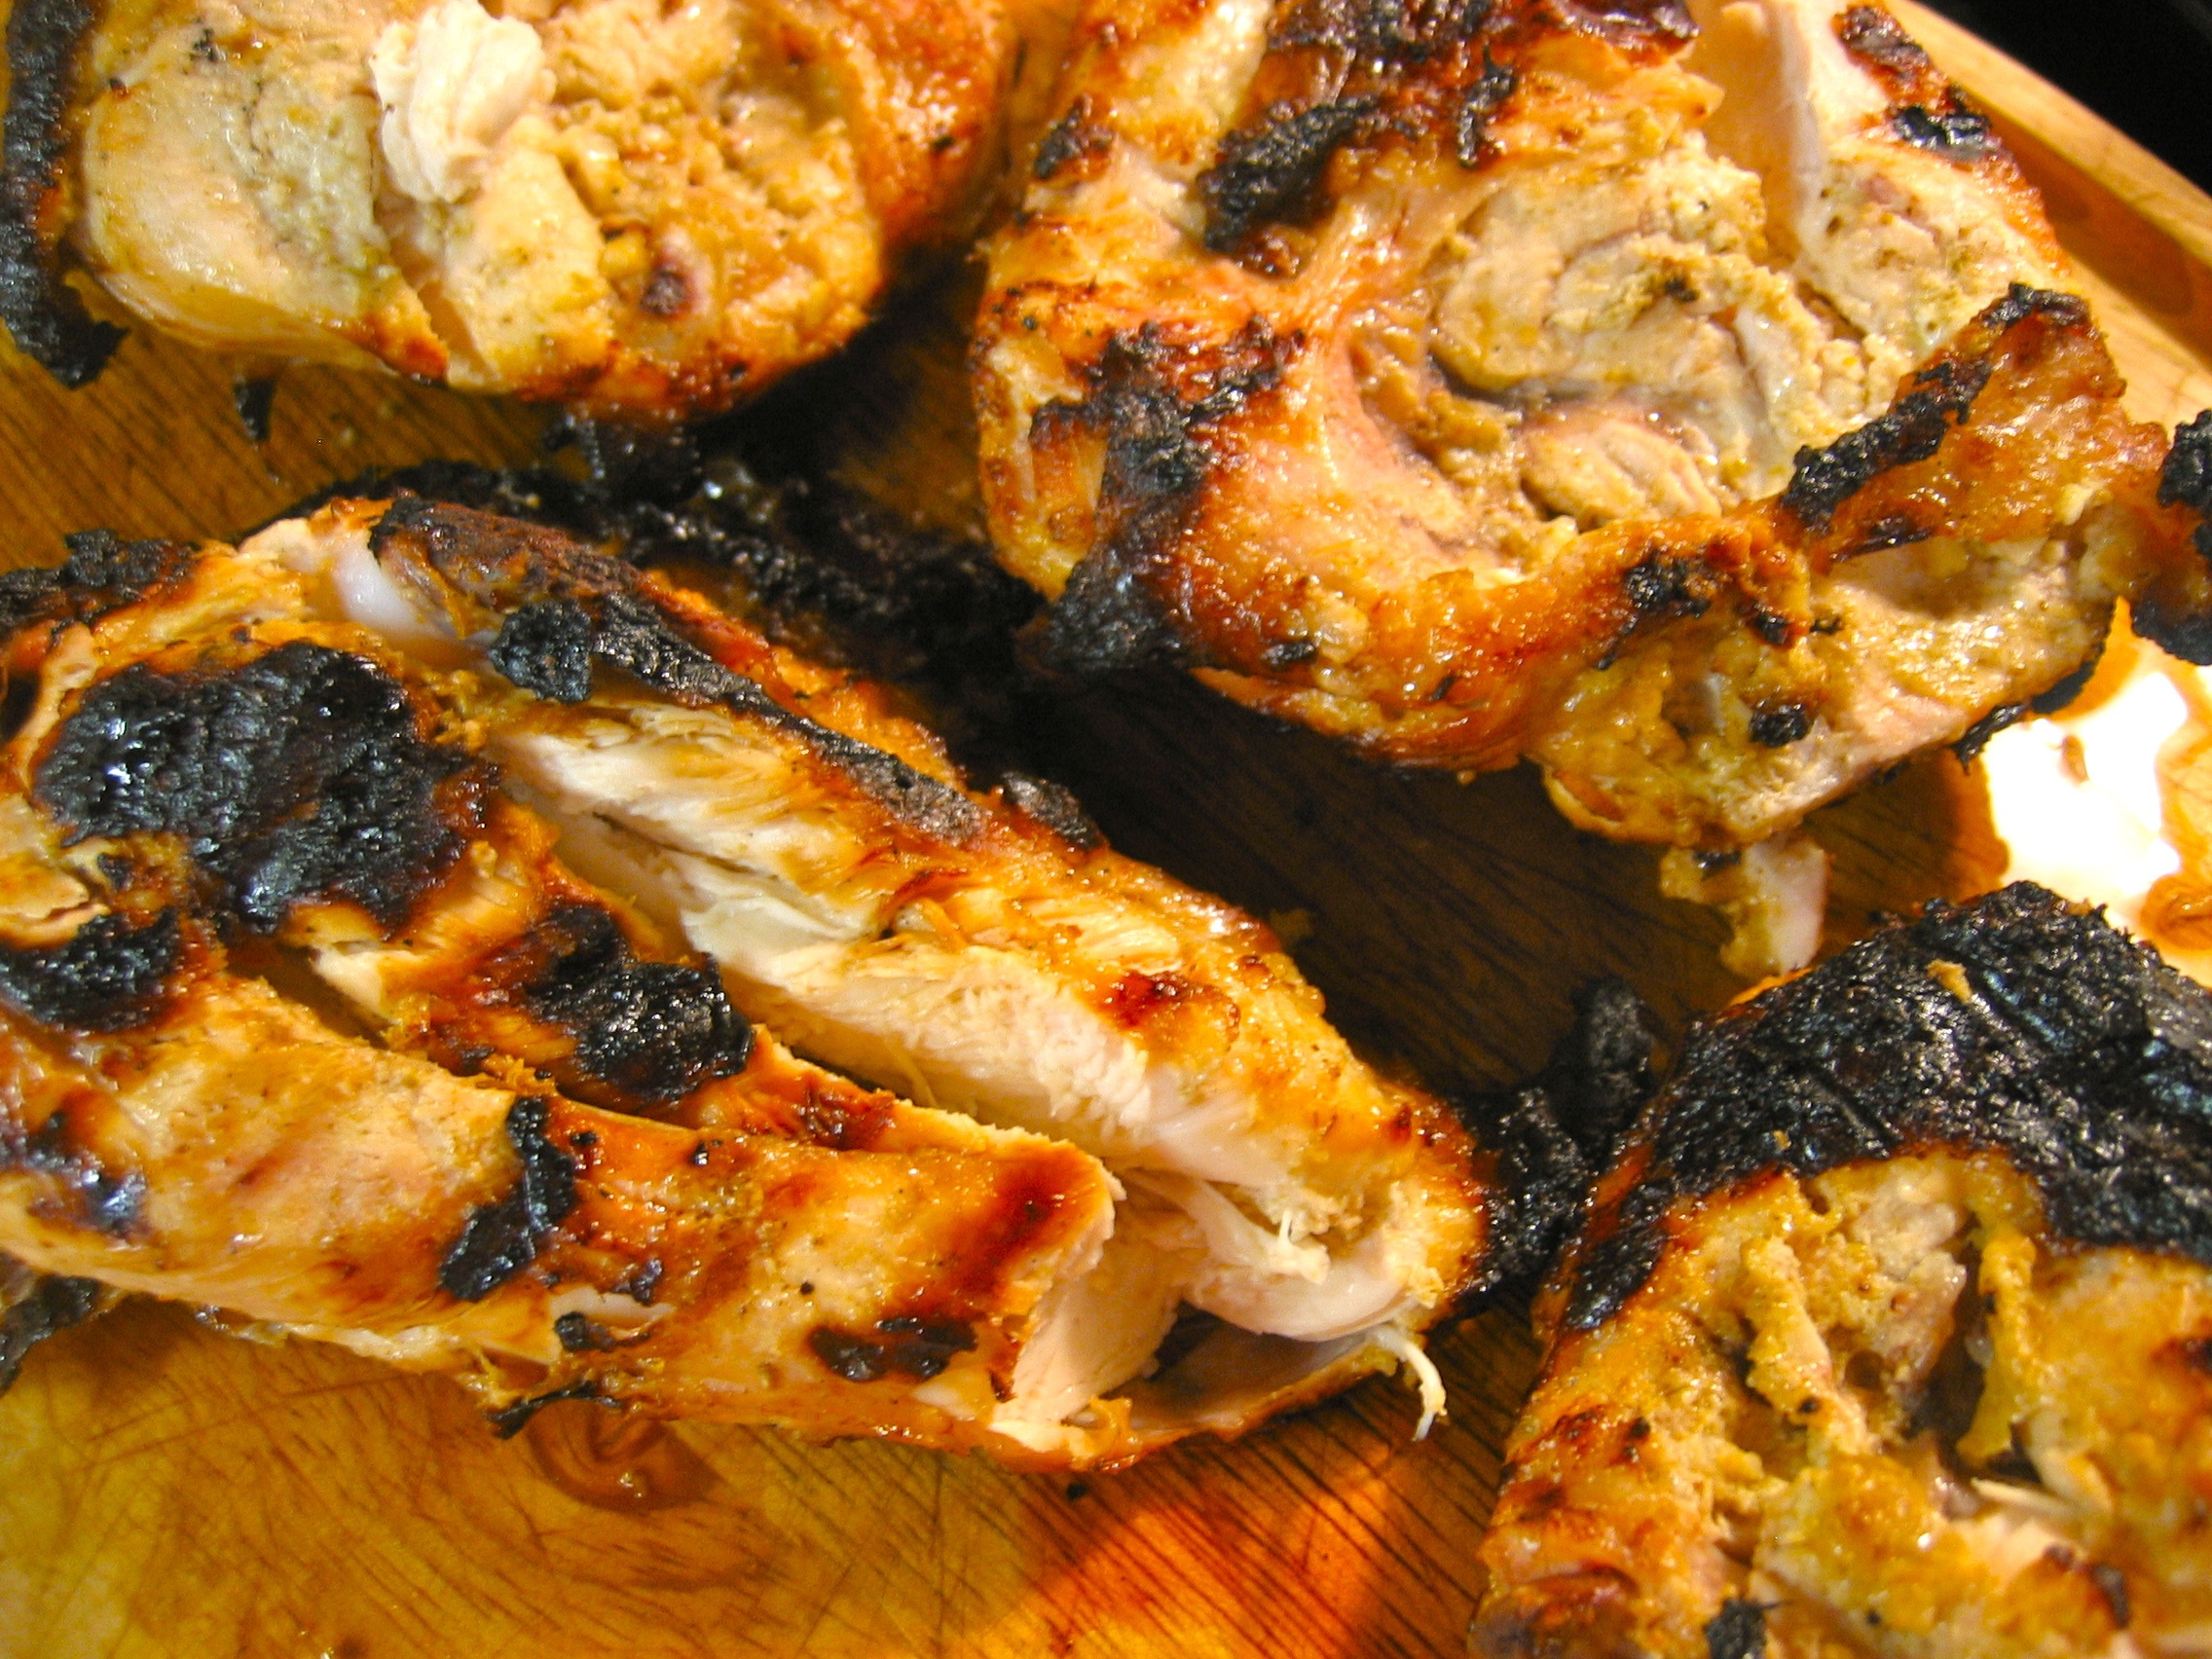
This is an excellent recipe for Swiss chard, although it takes some time and advance planning. Toast the pine nuts and steep the raisins the day before if you can; you can even make the entire dish in advance and quickly sauté it to reheat it before serving. The recipe calls for rainbow chard, but it worked well with Swiss chard.

Swiss chard in the garden

I used two pounds of chard for two people – it looks like a huge amount, but it cooks down. The recipe also says the chard stems need to be cooked in a large pot of boiling water, but a medium saucepan would be fine and take less time to come to a boil.

2 lbs. Swiss chard before cooking

Cooked-down chard

Swiss chard with raisins, pine nuts and prosciutto

I used prosciutto instead of Serrano ham and regular raisins. To avoid preservatives, try to use a white wine with no sulfites added or a sulfite content of lower than 10 parts per million.

Rainbow Chard

Ingredients:

2 tablespoons pine nuts
Kosher salt
4 to 5 pounds rainbow chard (Note: If the chard you find has very large stems, buy 5 pounds to get enough greens.)
About ¼ cup canola oil
2 tablespoons finely chopped garlic
1 ounce thinly sliced Serrano ham, cut crosswise into 1/4-inch strips
2 tablespoons Wine-Steeped Golden Raisins (see below)
Freshly ground black pepper

Preparation:

Preheat the oven to 350 degrees F. Line 3 baking sheets with parchment paper.

Spread the nuts on one of the lined pans and toast in the oven for about 10 minutes, until evenly browned. Remove from the oven, transfer to a plate, sprinkle with salt, and let cool.

Cut out the thick stems from the leaves of chard and set aside. Stack the greens in batches and cut crosswise into thirds; set aside. Trim the stems and cut them on the diagonal into 1-inch slices. You need 2 cups stems for this recipe (reserve any remaining chard for another use).

Bring a large pot of salted water to a boil. Add the chard stems and blanch until tender but still slightly resistant to the tooth, 3 to 4 minutes. Drain and spread on the second parchment-lined baking sheet.

Pour 1½ tablespoons canola oil into each of two large sauté pans and heat over medium heat (if you have only one large pan, cook the greens in 2 batches). Add 1 tablespoon of the garlic to each pan, reduce the heat, and cook over medium-low heat until softened but not colored, about 1 minute. Add one-quarter of the chard greens to each pan, season with salt (salt lightly if your ham is very salty), and cook for 3 to 5 minutes over medium to medium-low heat, until the chard wilts to about half its original volume. Add the remaining chard and cook until wilted and tender, 15 to 20 minutes total. Spread the greens, with their liquid, on the third lined sheet.

To serve, heat some oil in a large frying pan over medium-high heat. Add the ham and saute for about 45 seconds to crisp. Add the pine nuts and raisins and toss. Add the chard stems and greens, toss to combine, and heat through. Season to taste with salt and pepper. Transfer to a serving bowl. Serves 6.

Wine-Steeped Golden Raisins

Ingredients:

¾ cup golden raisins
¼ star anise
1 whole clove
½ cup dry white wine, such as Sauvignon Blanc

Preparation:

Combine the raisins, star anise, and clove in a jar. Bring the wine to a boil in a small saucepan. Pour over the raisins and let cool to room temperature. Let stand for 30 minutes, or cover and refrigerate for up to 1 month. Remove the star anise and clove before serving. Makes about ¾ cup.

From Ad Hoc at Home by Thomas Keller

This new find from the June 2010 issue of Food and Wine is a great grilled chicken recipe for a weeknight supper. You cut slashes into both sides of each chicken leg and fill them with a mixture of garlic, fennel seeds, dried oregano, red pepper flakes, salt and oil. I let them marinate overnight and grilled them over indirect heat so they browned well but did not burn.

The chicken was juicy and the garlic-fennel flavour had permeated the meat. I’ll definitely be making this again.

Ingredients:

1½ tablespoons chopped garlic

1½ teaspoons ground fennel seeds

¾ teaspoon dried oregano, crumbled

¾ teaspoon crushed red pepper

Kosher salt

1½ tablespoons extra-virgin olive oil, plus more for brushing

4 whole chicken legs (12 to 14 ounces each)

Preparation:

In a mortar, pound the garlic, fennel seeds, oregano and crushed red pepper with 1 ½ teaspoons of salt until a coarse paste forms. Add the 1 ½ tablespoons of oil.

Make four 2-inch slashes on the skin of each chicken leg, cutting to the bone; make 2 slashes on the underside of each leg. Rub the paste into the slashes, cover and refrigerate for 4 hours or overnight.

Light a grill. Brush the chicken with oil and season with salt. Grill over moderate heat, turning, until lightly charred and cooked through, 25 minutes. Serves 4.

From the June 2010 issue of Food and Wine

« Previous PageNext Page »