I don’t cook with buttermilk very often, and, when I do, I usually end up throwing out at least half the carton. But I have seen so many chicken recipes lately that use buttermilk as a marinade that I thought I’d give it a try. After making this recipe from the June 2010 issue of Martha Stewart Living, I think I’m a convert! I cut the recipe in half, because I was only cooking one chicken, and let it marinate for a full day. It was delicious – moist, flavourful and well-seasoned.

I served the chicken with an old favourite – the green bean and potato salad featured on the cover of the July 1994 issue of Bon Appetit. Laced with red onion and basil and dressed with a balsamic-mustard vinaigrette, this is a nice change from traditional potato salad. If you can’t find the recipe online, let me know and I’ll post it here.

Grilled Buttermilk Chicken

Ingredients:

4 cups buttermilk

15 garlic cloves

1 cup fresh rosemary or thyme

Coarse salt and freshly ground pepper

3 whole chickens (3 lbs. each), cut into 8 pieces each (then halve breasts on the diagonal)

Safflower oil, for brushing

Directions:

Combine buttermilk, garlic, herbs, 2 tablespoons salt, and 2 teaspoons pepper. Divide chicken between 2 baking dishes. Cover with marinade, turning to coat. Refrigerate for at least 4 hours or overnight, turning chicken occasionally. Remove chicken from refrigerator 30 minutes before grilling.  Heat grill to medium with direct and indirect heat zones. Brush grates with oil. Remove chicken from marinade, and pat dry with paper towels. Grill breast halves, thighs, and drumsticks, skin side down, over direct heat for 10 minutes. Flip, move to indirect heat, and grill, covered, until an instant-read thermometer inserted into the thickest part of thighs registers 165 degrees, 10 to 15 minutes. Grill wings over direct heat, flipping often, until cooked through, about 15 minutes. Serves 12.

From the June 2010 issue of Martha Stewart Living

Canadian Living featured this recipe from its new barbecue cookbook in the June issue of the magazine, so I thought I’d give it a try. While the end result was quite tasty, I would make a few changes to the original recipe. First, I don’t really understand why the recipe suggests cutting the steak into strip prior to grilling. To me, this is a recipe for dry meat, not to mention how tricky it would be to keep the strips from falling through the grill grate. So I left the steak whole and sliced it after letting it stand, tented with foil, for 10 minutes.

The second odd thing about the recipe is that the salsa is pureed in the blender. I did this and, while the result was flavourful, it was a strange pink colour and runny. A coarsely chopped salsa would have been much better. The barbecued vegetables turned out fine.

Finally, because the recipe calls for soft flour tortillas, these are more like fajitas than tacos. But maybe I’m just being picky; they did taste good!

Steak Tacos

Ingredients:

1 lb thin beef grilling steak, cut into 2-inch strips (I left the steak whole)
¼ cup lime juice
1 onion, sliced
2 sweet peppers, sliced
1 tsp minced garlic
½ tsp black pepper
6 flour tortillas

Serrano Salsa

4 tomatoes

2 serrano peppers, seeded (I used a jalapeno)
1 clove garlic
½ tsp salt
¼ cup chopped fresh coriander

Preparation:

Toss together beef, lime juice, onion, sweet peppers, garlic and pepper. Let stand for 30 minutes or, refrigerated, up to 4 hours.

Serrano Salsa: Core tomatoes and blanch for 1 minute; drain and peel. In blender (although I think it would be better roughly chopped), purée together tomatoes, serrano peppers, garlic and salt. Stir in coriander.

Grill steak, onion and peppers on greased grill over high heat, turning once, until onion and peppers are soft and grill-marked, and steak is rare to medium-rare, 3 to 4 minutes. Slice peppers. Serve steak, onion and peppers in tortillas with Serrano Salsa.

From the June 2010 issue of Canadian Living

This recipe for spicy grilled shrimp from the June 2010 issue of Martha Stewart Living is meant to be an appetizer, but I thought it looked so good I served it as a entree. The sauce is a wonderful combination of sweet-tart flavours, with a blast of heat. In this recipe, half of the sauce is brushed on the shrimp during grilling and half is reserved for dipping. It was so good, we plan to try it with our next batch of chicken wings.

The recipe calls for Asian chili paste such as sambal oelek, which is off-limits in our house because it contains numerous chemical additives and preservatives. Sambal oelek is essentially a paste of hot peppers and vinegar, so I improvised by dissolving a teaspoon of cayenne pepper in a tablespoon of Tabasco sauce. It worked perfectly. To avoid additives and preservatives, use only fresh lime juice and a fish sauce with all-natural ingredients, such as Thai Kitchen brand.

The arugula we are growing on our deck is at its peak right now, so I served the shrimp with a salad of arugula, toasted almonds and shavings of parmigiano-reggiano cheese, tossed with a lemon-balsamic dressing. The recipe is in the June issue of Everyday Food. Steamed rice on the side soaked up the delicious sauce.

Spicy Grilled Shrimp

Ingredients:

For the sauce (makes ¾ cup)

1/2 cup sugar

1 teaspoon finely grated lime zest, plus 1/4 cup fresh lime juice (from 3 to 4 limes)

1 tablespoon Asian chili paste (such as sambal oelek)

1 tablespoon Asian fish sauce

Coarse salt

For the shrimp

Safflower oil, for brushing

36 large shrimp (about 3 pounds), peeled and deveined (tails left intact; optional)

Coarse salt

Directions:

Soak 12 wooden skewers in water for 30 minutes to prevent charring.  Meanwhile, make the sauce: Bring sugar and lime juice to a simmer in a small saucepan. Cook, stirring, until sugar dissolves, about 2 minutes. Remove from heat; stir in lime zest, chili paste, and fish sauce. Season with salt.  Make the shrimp: Heat grill to high. Brush grates with oil. Thread 3 shrimp onto each skewer; season with salt. Divide sauce in half; reserve half for serving. Grill shrimp for 1 minute; brush with sauce. Flip, and grill for 1 minute more; brush with sauce again. Flip, and grill, brushing occasionally with sauce, until opaque, 1 to 3 minutes more. Serve with reserved sauce. Makes 12 appetizer servings.

From the June 2010 issue of Martha Stewart Living

I was planning to make lamb kabobs for dinner last night, but, alas, there was no lamb to be had at the butcher’s. I decided to use chicken instead, and now I’m very happy there was no lamb! This is another good recipe from Canadian Living’s new grilling cookbook The Barbecue Collection. The Indian-style turmeric-spiced yogurt marinade made the chicken pieces incredibly succulent.

The kabobs are served with kachumber salad, which is a lovely fresh-tasting salad of cucumber, red onion and tomato that is hot, hot, hot from the jalapeno and cayenne (love it).

To avoid additives and preservatives in these recipes, be sure to use fresh lime juice, as concentrates tend to contain sodium benzoate. The recipe for the marinade suggests draining the yogurt for 30 minutes, but I skipped this step. If you are using wooden skewers, be sure to soak them for 30 minutes so they don’t burn up on the grill. Basmati rice is a perfect accompaniment.

Lamb or Chicken Kabobs with Kachumber Salad

Ingredients:

Kabobs

1 cup Balkan-style plain yogurt

2 cloves garlic, minced

1 tbsp vegetable oil

1 tbsp grated fresh ginger

1 tsp ground cumin

1 tsp ground coriander

1 tsp turmeric

1 tsp lime juice

1/2 tsp salt

2 1/2 lbs. boneless lamb leg or chicken breasts, cut into 1 1/2-inch cubes

Preparation:

Drain yogurt in cheesecloth-lined sieve set over bowl for 30 minutes (this step is optional). Transfer yogurt to clean bowl, discarding whey. Stir in oil, garlic, ginger, spices, lime juice and salt. Toss with lamb or chicken until well coated. Marinate, refrigerated, for at least 15 minutes or up to 8 hours. Thread lamb or chicken onto skewers. Grill, covered, on greased grill over medium-high heat, turning once, until done, about 10-15 minutes. Makes 6-8 servings.

Kachumber Salad

1 cup chopped cucumber

1 cup chopped red onion

1 cup chopped tomato

2 tbsp chopped coriander

1 green hot pepper, chopped

2 tbsp lime juice

1/4 tsp granulated sugar

1/4 tsp salt

1/4 tsp cayenne pepper

Preparation:

Combine all ingredients in a bowl and serve.

From Canadian Living’s The Barbecue Collection

The Daring Kitchen www.thedaringkitchen.com is a wonderful website for foodies who blog. Each month, a challenge is issued to the Daring Cooks and Daring Bakers who have registered with the site. Essentially, each Daring Cook and Daring Baker makes the challenge recipe and posts about it on the 14th of the month.

I recently registered as a Daring Cook and June was my first challenge – pâtés and bread. I was quite apprehensive because the challenge included baking (which I consider to be one of the black arts). But I am happy to say that the French baguette turned out beautifully – with a very crisp crust and soft, slightly chewy interior. If you try the recipe, keep in mind that you must begin the starter the night before you want to bake the bread.

I made the Tricolour Vegetable Pâté, which also turned out very well. I could not find cannellini beans that did not contain chemical preservatives, so used Eden organic navy beans, which were just fine. Although the recipe said to mash the bean layer, I used the food processor to make it smooth.  For the red pepper layer, I used Pilaros brand roasted red peppers, which have no artificial ingredients.

When I make this recipe again, I will make the bean layer smaller and increase the amount of pesto, so that the green layer is larger.

But, all in all, this was a great challenge that I enjoyed. And I’m still amazed that the baguettes turned out so well!

French Baguette

Yield: Three 16″ baguettes

Starter

1/2 cup / 120 ml cool water

1/16 teaspoon active dry yeast

1 cup / 240 ml flour

Dough

1 tsp / 5 ml active dry yeast

1 cup to 1 1/4 cups / 240 ml to 300 ml lukewarm water*

all of the starter

3 1/2 cups / 840 ml flour

1 1/2 tsp / 7 ml salt

*Use the lesser amount in summer (or in a humid environment), the greater amount in winter (or in a dry climate), and somewhere in between the rest of the year, or if your house is climate controlled.

Directions:

Make the starter by mixing the yeast with the water, then mixing in the flour to make a soft dough. Cover and let rest at room temperature for about 14 hours; overnight works well. The starter should have risen and become bubbly.

Mix active dry yeast with the water and then combine with the starter, flour, and salt. Mix and knead everything together—by hand, mixer or bread machine set on the dough cycle—till you’ve made a soft, somewhat smooth dough; it should be cohesive, but the surface may still be a bit rough. Knead for about 5 minutes on speed 2 of a stand mixer.

Place the dough in a lightly greased medium-size bowl, cover the bowl, and let the dough rise for 3 hours, gently deflating it and turning it over after 1 hour, and then again after 2 hours.

Turn the dough out onto a lightly greased work surface. Divide it into three equal pieces. Shape each piece into a rough, slightly flattened oval, cover with greased plastic wrap, and let them rest for 15 minutes.

Working with one piece of dough at a time, fold the dough in half lengthwise, and seal the edges with the heel of your hand. Flatten it slightly, and fold and seal again. With the seam-side down, cup your fingers and gently roll the dough into a 15″ log.

Place the logs seam-side down onto a lightly greased or parchment-lined sheet pan or pans.

Cover them with a cover or lightly greased plastic wrap, and allow the loaves to rise till they’ve become very puffy, about 1 1/2 hours. Towards the end of the rising time, preheat your oven to 450ºF (240ºC).

Using a very sharp knife held at about a 45° angle, make three 8″ vertical slashes in each baguette. Spritz the baguettes heavily with warm water; this will help them develop a crackly-crisp crust.

Bake the baguettes until they’re a very deep golden brown, 25 to 30 minutes. Remove them from the oven and cool on a rack. Or, for the very crispiest baguettes, turn off the oven, crack it open about 2″, and allow the baguettes to cool in the oven.

Tricolor Vegetable Pâté

Yields one 25 by 12,5 cm (10 by 5 inch) terrine or loaf pan

Line your pan with plastic wrap, overlapping sides.

White Bean Layer

2 x 15-ounce / 900 ml cans cannellini (white kidney beans), rinsed, drained thoroughly

1 tbsp / 15 ml fresh lemon juice

1 tbsp / 15 ml olive oil

1 tbsp / 15 ml minced fresh oregano or 1 teaspoon dried

2 garlic cloves, pressed

Mash beans in large bowl. Add lemon juice, olive oil, oregano and garlic and blend until smooth. Season to taste with salt and pepper. Spread bean mixture evenly on bottom of prepared pan.

Red Pepper Layer

7-ounce / 210 ml jar roasted red bell peppers, drained, chopped

3/4 cup / 180 ml crumbled feta cheese (about 4 ounces)

Combine peppers and feta in processor and blend until smooth. Spread pepper mixture evenly over bean layer in prepared dish.

Pesto Layer

2 garlic cloves

1 cup / 240 ml fresh basil leaves

1 cup / 240 ml fresh Italian parsley leaves

1/4 cup / 60 ml toasted pine nuts

3 tbsp / 45 ml olive oil

1/2 cup / 120 ml low-fat ricotta cheese

Mince garlic in processor. Add basil, parsley and pine nuts and mince. With machine running, gradually add oil through feed tube and process until smooth. Mix in ricotta. Spread pesto evenly over red pepper layer.

Cover with plastic wrap and refrigerate overnight.

To unmold, invert pâté onto serving platter. Peel off plastic wrap from pâté. Garnish with herb sprigs and serve with sourdough bread slices.

I usually prefer to buy a good steak and just grill it with salt and pepper, but thought I’d try this Grilled Steak Diable from Canadian Living’s The Barbecue Collection, which calls for overnight marination of a thick sirloin. It turned out well, although most of the mustard-pepper crust stayed on the grill instead of the steak!

People who are sensitive to or allergic to sulfites need to be careful with red wine. My husband can tolerate wines with a sulfite content of 10 parts-per-million (ppm) or less. The LCBO’s Vintages catalogue and website list the sulfite content in their organic wines. To avoid additives and preservatives in this recipe, make sure your Dijon does not contain white wine, colour, sulfites or sodium benzoate. I served the steak with sauteed corn and grilled vegetables.

Grilled Steak Diable

Ingredients:

1 lb. beef sirloin steak, 1-1/2 inches thick

2 sprigs fresh thyme

1 clove garlic, crushed

1 bay leaf, broken into pieces

1/4 cup dry red wine

4 tsp olive oil

4 tsp black peppercorns

4 tsp Dijon mustard

sea salt

Preparation:

In large dish or resealable bag, combine steak, thyme, garlic and bay leaf. Whisk wine with oil and pour over steak, turning to coat. Marinate, refrigerated, overnight or up to one day, turning a few times. Bring to room temperature. Coarsely crush peppercorns. Remove steak from marinade and pat dry. Brush mustard all over steak; sprinkle with peppercorns, pressing to adhere. Grill, covered, on greased grill over medium-high heat, turning once, until desired doneness, about 10 minutes for rare or 13 minutes for medium-rare. Transfer to cutting board, tent with foil and let stand for 5-10 minutes before slicing thinly across the grain. Season with sea salt to taste. Serves 2-3.

From Canadian Living’s The Barbecue Collection

This is the first recipe I’ve made out of The Barbecue Collection from Canadian Living and it is a great new find. This recipe includes an unusual marinade that contains warmed sesame oil and hot balsamic vinegar, but it infuses the wings with lots of heat and flavour. If you barbecue often, you may want to consider picking up a copy of this new cookbook, which, at 550+ pages, has recipes that will appeal to everyone. I also haven’t noticed much duplication from Canadian Living’s earlier barbecue cookbooks. The Canadian Living Barbecue and Summer Foods Cookbook, published in 1989, is the most tattered cookbook in my collection and remains the source of my favourite gazpacho, cornbread and potato salad recipes. If you ever see a copy of it, grab it – you won’t be sorry.

To avoid additives and preservatives, check the labels on your sesame oil and balsamic vinegar. Balsamic vinegar labelled “no sulfites added” or “contains naturally occurring sulfites” should be fine.

I served these scrumptious wings with raw veggies and dip for a perfect Friday night meal.

Three-Pepper Chicken Wings

Ingredients:

5 cloves garlic, pressed or minced

1 tbsp grated fresh ginger

1 tsp black pepper

1 tsp white pepper

1 tsp cayenne pepper (or more to taste)

3/4 tsp salt

1/4 cup sesame oil

2 tbsp balsamic vinegar or Chinese black vinegar

2 lb chicken wings (drumettes and winglets)

Directions:

In a large heatproof bowl, mix together garlic, ginger, the three peppers and salt. In a small skillet or saucepan, heat the sesame oil over medium-high heat until a haze forms over the surface but before it begins to smoke. Pour over the garlic mixture. Add vinegar to skillet or saucepan and bring to boil – this will happen almost immediately – and pour into the bowl. Add wings, tossing to coat. Marinate for 30 minutes or, refrigerated, up to 1 day. Reserving the marinade, remove wings and place them on grill over medium heat. Grill, turning every 5 minutes and brushing with marinade for two turns, until wings are crisp and no longer pink at joints, 15-20 minutes.

From Canadian Livings’ The Barbecue Collection
Kebabs, satay, skewers – whatever you want to call them, they are fast to make and fun to eat. The June 2010 issue of Everyday Food includes three very easy glazes for kebabs, all made with orange marmalade. I made the soy-ginger glaze last night for beef kebabs and it was great.

If you are using wooden skewers, soak them for at least 30 minutes so they won’t burn up on the grill. Be sure to brush the kebabs with the glaze for just a few minutes before they are done; otherwise the sugar in the glaze will burn. You can also brush some on after the kebabs have been removed from the grill. If you are trying to avoid additives and preservatives, be sure to read the label on the marmalade carefully, as many include artificial colours, flavours and preservatives. I used Robertson’s Golden Shred orange marmalade (which is also great on toast!). If you try the other glazes, be sure to use tamari soy sauce, fresh lime juice, and additive-free mustard. For chipotles in adobe sauce, try Herdez brand, which is additive-free.

I served the kebabs with jasmine rice and, of course, vegetable kebabs. You can use any vegetable, but I used red pepper, yellow pepper and Vidalia onion.

Glazes for Kebabs

Orange-mustard (good with shrimp kebabs)

Stir together ¼ cup orange marmalade and 1 ½ tsp grainy mustard

Soy-ginger (good with beef kebabs)

Stir together ¼ cup orange marmalade, 1 1/2 tsp soy sauce and 1 tsp grated peeled ginger

Chipotle-lime (good with pork kebabs)

Stir together ¼ cup orange marmalade, 1 ½ tsp liquid from chipotle chiles in adobo and 1 tsp fresh lime juice

From the June 2010 issue of Everyday Food

This new find from the June 2010 issue of Everyday Food is perfect for a quick, easy and tasty weeknight supper. The recipe calls for chicken cutlets, but I substituted skinless, boneless chicken thighs, which worked very well. The orzo is a great side dish; I omitted the hazelnuts, but added dill, parsley and chives to the oregano. If you are trying to avoid additives and preservatives, be sure to use fresh lemon juice, as concentrates usually have sodium benzoate or other preservatives added. I served the chicken and orzo with a three-bean salad from the latest issue of Cook’s Country.

Grilled Chicken with Oregano and Lemon

Ingredients:

4 large chicken cutlets or 8 small (about 1 lb.)

2 garlic cloves, smashed and peeled

2 sprigs plus 2 tsp chopped fresh oregano

1/2 lemon, quartered, plus 1 tbsp lemon juice, plus lemon wedges for serving (optional)

coarse salt and ground pepper

1 tbsp olive oil plus more for the grill

1 cup orzo

1/4 cup toasted hazelnuts, chopped

Directions:

In a medium bowl or resealable bag, combine chicken, garlic and oregano sprigs. Add lemon quarters, squeezing juice into bowl or bag as you go. Season with salt and pepper. Refrigerate for at least 30 minutes. Heat grill pan or grill to medium-high heat. Remove chicken from marinade and grill until cooked through. Transfer to platter and tent with foil for 5-10 minutes. Meanwhile, cook orzo according to package instructions. Drain and transfer to medium bowl. Stir in chopped oregano, 1 tbsp lemon juice, oil and hazelnuts. Season with salt and pepper. Serve chicken and orzo with lemon wedges, if desired. Serves 4.

From the June 2010 issue of Everyday Food


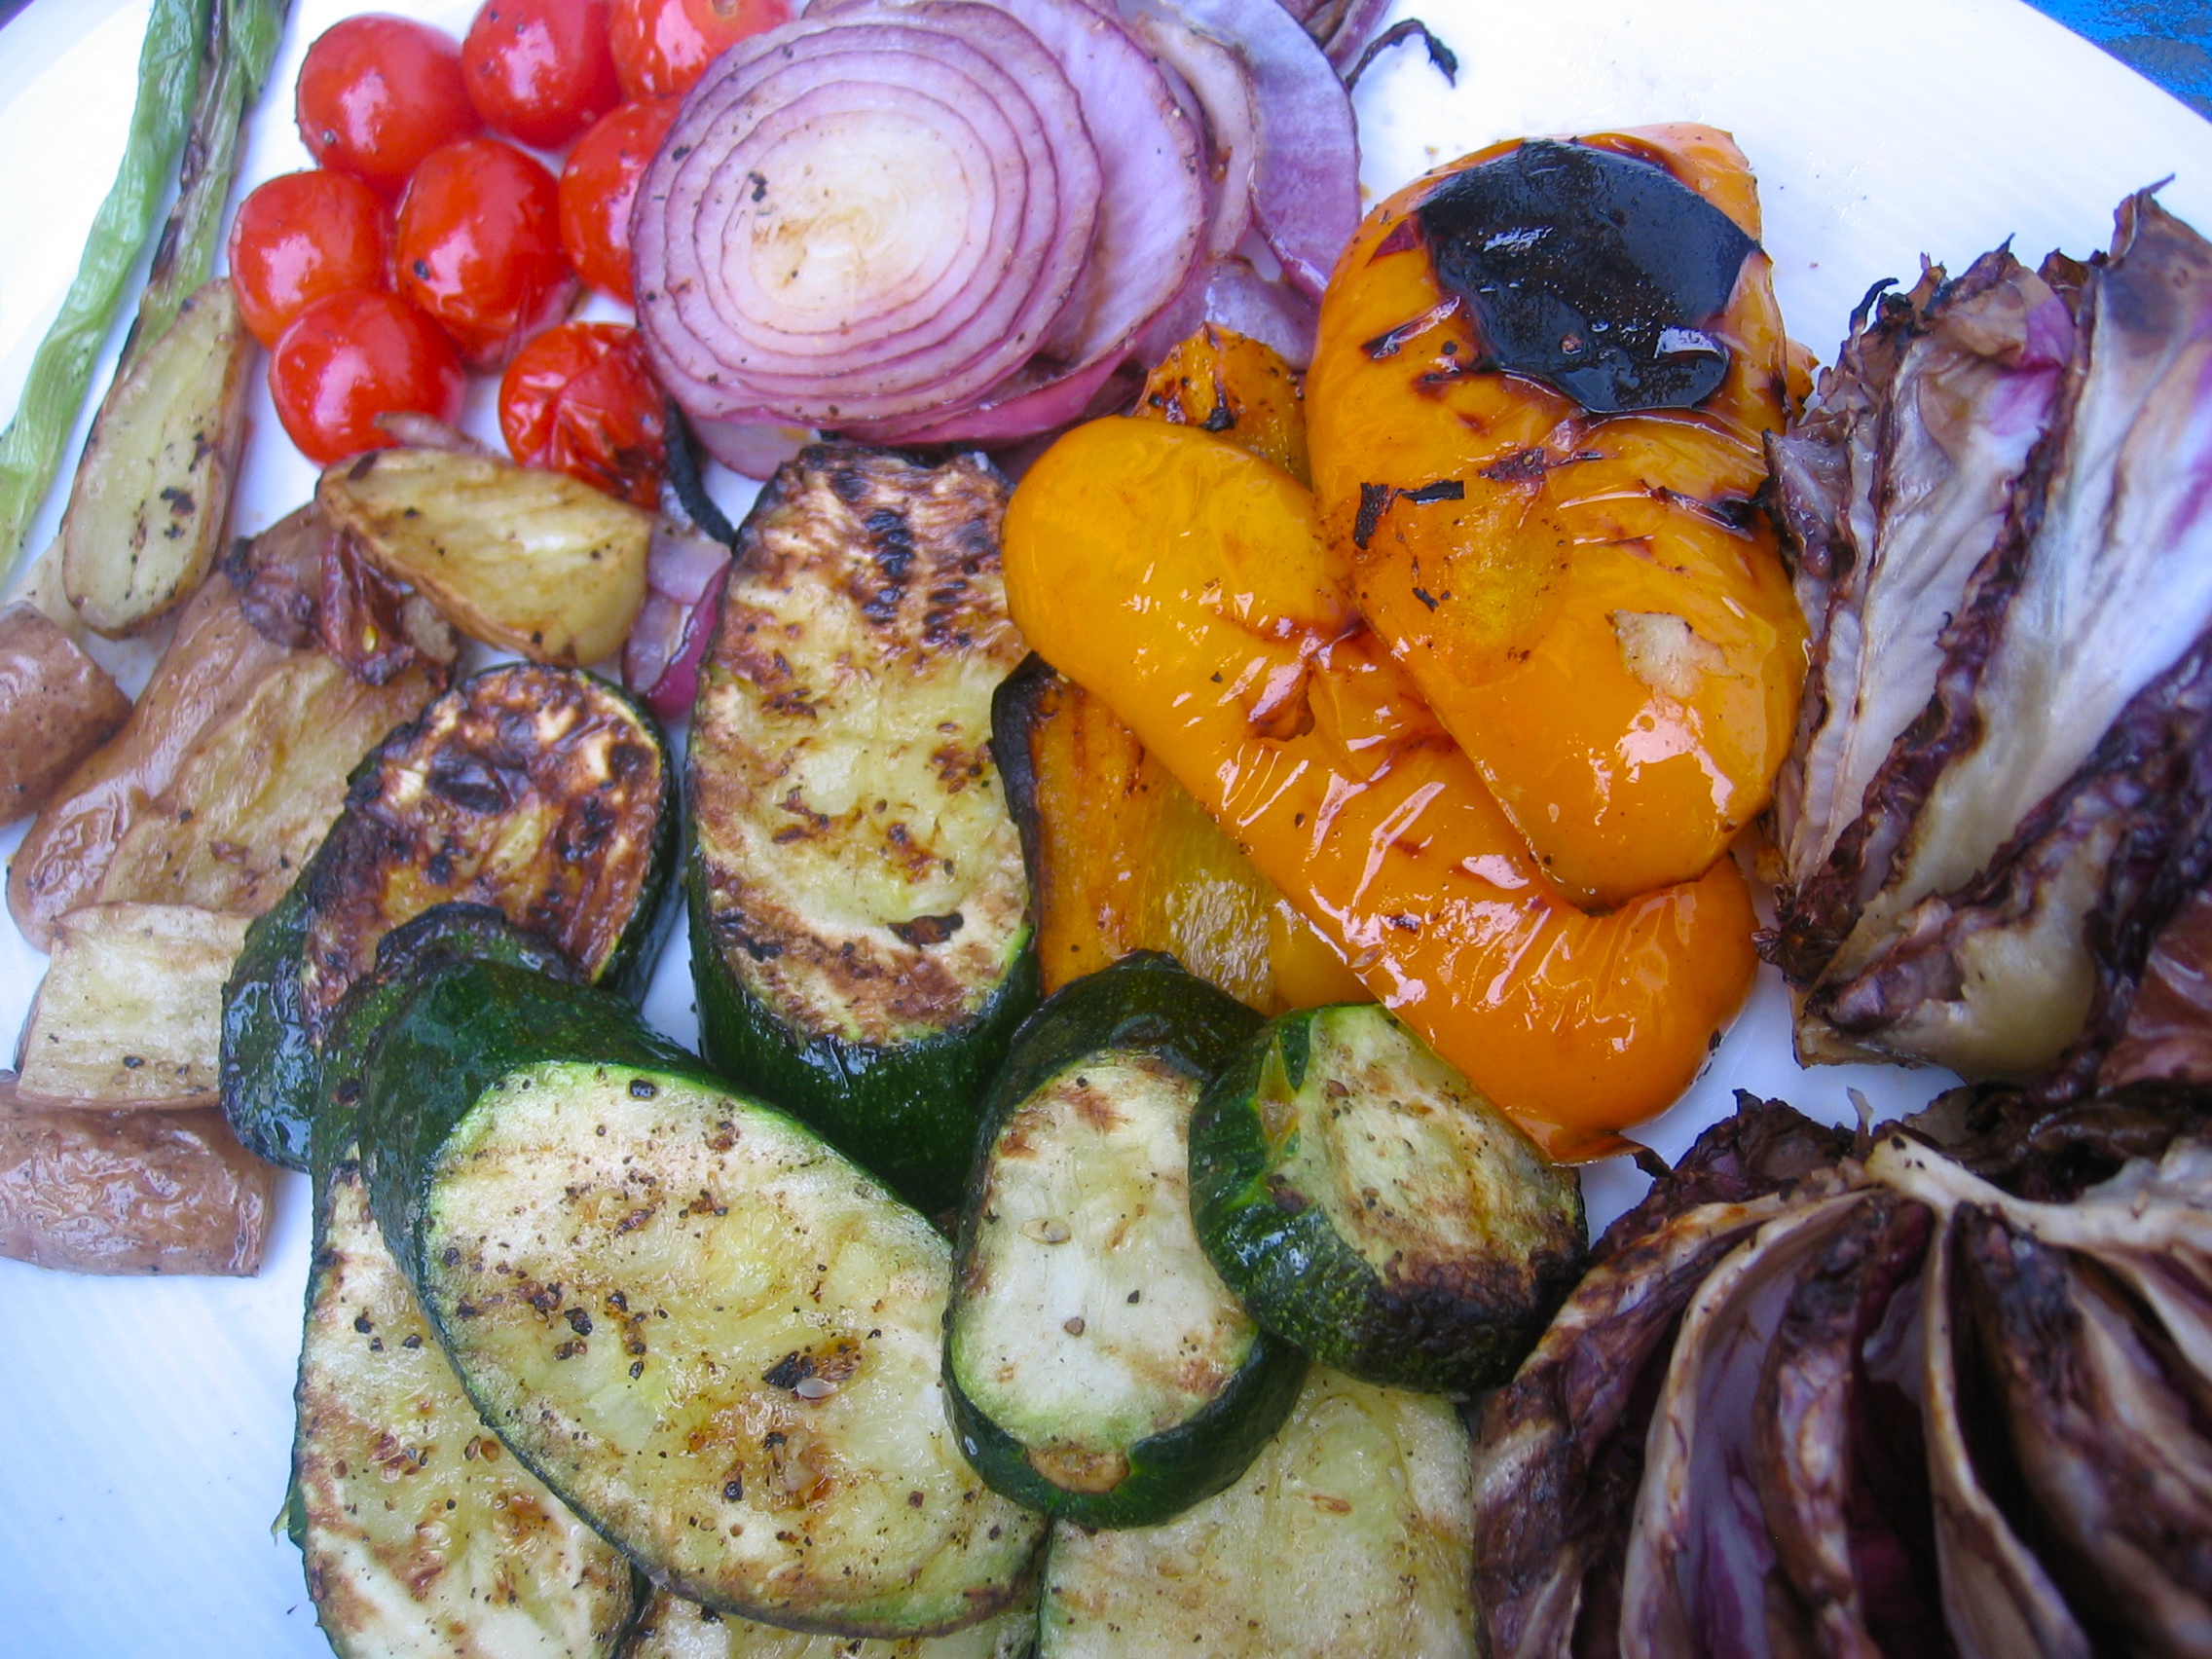
We love all kind of grilled vegetables during the summer, and this is a recipe I make often. It is served at room temperature so can be made ahead. And you can make it even without the grill; just broil the zucchini and eggplant or cook them on a ridged grill pan. Feel free to add asparagus, radicchio, onions – the vinaigrette is delicious with everything. You can also used red pepper instead of yellow or orange.

To avoid additives and preservatives in this recipe, make sure your balsamic vinegar has no sulfites added or is labelled “contained only naturally occurring sulfites”.

Grilled Zucchini and Eggplant Salad with Sweet Pepper Vinaigrette

Ingredients:

2 medium zucchini, sliced on an angle to ¼ inch slices

1 medium eggplant, halved lengthwise and sliced into ¼ inch slices

3 tablespoons extra-virgin olive oil, plus some for brushing

Salt and freshly ground black pepper, to taste

3 tablespoons finely chopped red pepper

3 tablespoons finely chopped yellow or orange pepper

1 garlic clove, minced

2 tablespoons balsamic vinegar

½ tsp sugar

2 tablespoons chopped fresh oregano

Preparation:

Preheat grill to medium-high. Brush zucchini and eggplant slices lightly on both sides with olive oil; season with salt and pepper. Grill 1 to 2 minutes per side, until nicely coloured but still firm/tender. Transfer to a platter and cool to room temperature.

Arrange zucchini and eggplant slices in slightly overlapping rows on the platter.

Combine the 3 tablespoons of extra-virgin olive oil and the remaining ingredients in a small bowl. Salad and dressing can be prepared to this point several hours in advance. Cover and refrigerate until ready to serve. Warm both at room temperature for 5 minutes before finishing off the salad.

Spoon dressing over the vegetables. Let zucchini and eggplant be flavoured by the dressing for 10 minutes before serving. Serves 8.

From the August 9, 2006 issue of The Ottawa Citizen

« Previous PageNext Page »